Basket Cheese Mold Guide offers practical benefits for preparation and serving at home. It improves handling, hygiene, and presentation when you choose the right size and materials. Pick a basket cheese mold guide that suits your cheese styles and your cleaning routine.
What it is and why it matters
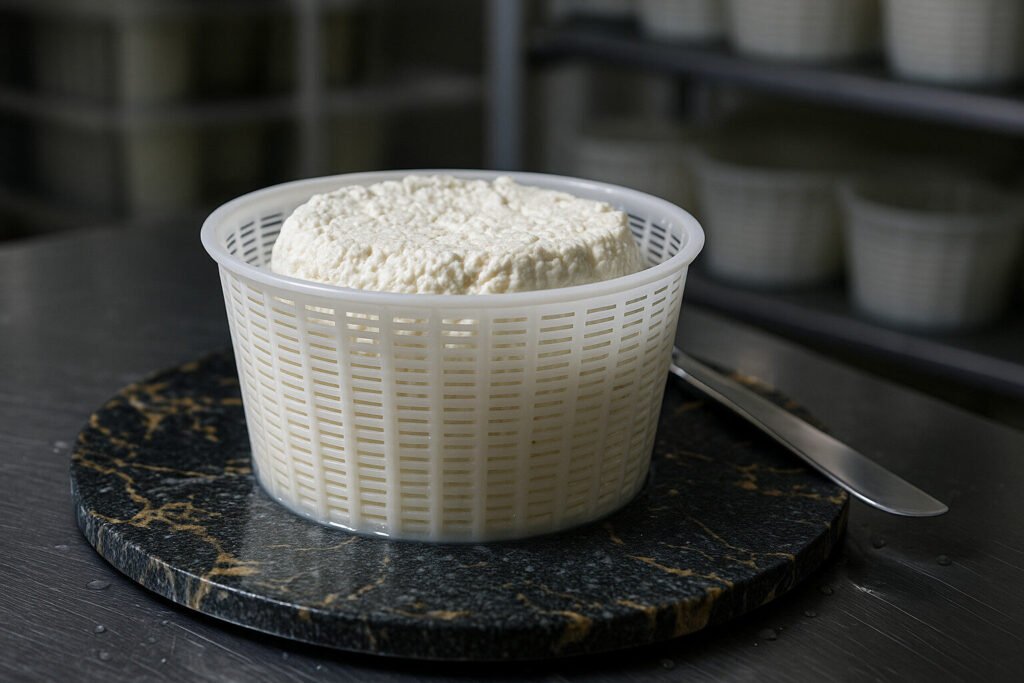
A basket cheese mold is a perforated container designed to hold curds while the whey drains away. This process is crucial for achieving the correct texture and consistency in many fresh and brined cheeses. The mold also imparts the classic patterned rind that is both visually appealing and functional for further aging or serving.
Using the correct mold ensures your cheese develops the proper structure and form. It supports the delicate curds during the critical draining phase, preventing them from collapsing. This tool is indispensable for creating cheeses with traditional aesthetics and authentic mouthfeel.
Materials and build quality
High-quality basket cheese molds are typically constructed from durable, food-grade plastic or rust-proof stainless steel. Plastic molds are lightweight and affordable, making them great for beginners. Stainless steel options offer superior durability and are easier to sterilize for repeated use.
Look for molds with smooth, seamless interiors to prevent curds from sticking. The perforations should be cleanly drilled and consistent in size to ensure even drainage. A robust construction ensures the mold will withstand regular use and cleaning without warping or cracking.
Sizes, formats, and compatibility
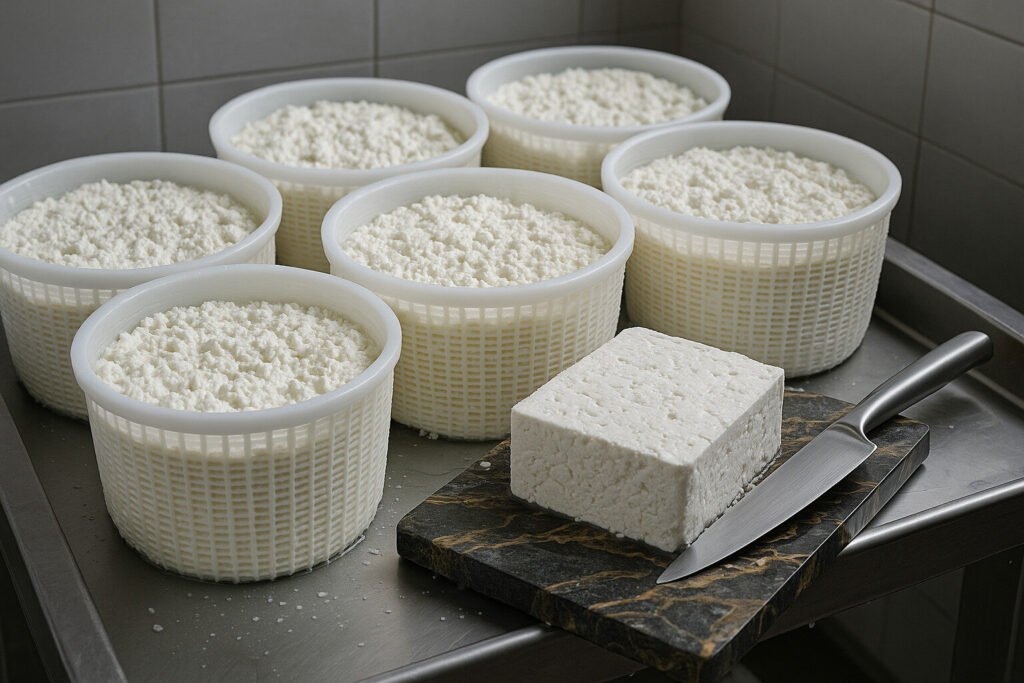
Basket cheese molds come in various diameters and heights to produce different cheese sizes. Common sizes range from small 10 cm molds for individual servings to larger 20 cm molds for bigger batches. The choice of size depends on the cheese type and the quantity of curds you are working with.
Most molds are round, but square and rectangular formats are also available for specific cheese styles. Ensure the mold you select is compatible with your draining setup, such as fitting over a collection bowl or resting on a rack. Some sets include matching followers for applying even pressure during pressing.
How to use it step by step
Preparing the mold
First, sanitize the basket cheese mold thoroughly before each use. You can line the mold with a damp Cheese Cloth Guide recommended cloth to make unmolding easier and to achieve a smoother rind. Place the prepared mold on a draining rack or over a deep tray to catch the whey.
Gently ladle the prepared curds into the mold, filling it to the desired level. Avoid packing the curds down too firmly at this stage to allow for natural settling and drainage. Tap the mold lightly on the counter to help eliminate any large air pockets.
Draining and turning
Allow the filled mold to drain at room temperature or in a cool environment for the specified time. The draining time can range from a few hours to overnight, depending on the cheese recipe. You may need to turn the cheese in the mold periodically to ensure even drainage and shape.
After the initial draining, the cheese can be unmolded carefully. For some cheeses, a light weight may be placed on top to encourage further whey expulsion. Monitor the process to achieve the perfect firmness before moving to salting or brining.
Care, cleaning, and storage
Clean the basket cheese mold immediately after use with hot water and a mild detergent. Use a small brush to clean the perforations and remove any stuck-on curd particles. Always allow the mold to air dry completely before storing it to prevent mold or bacterial growth.
Store your clean, dry molds in a cool, dry place away from direct sunlight. Stacking them is fine if they are made from sturdy material, but avoid placing heavy items on top of plastic molds to prevent deformation. Proper care extends the life of your molds significantly.
Safety notes and hygiene
Maintaining strict hygiene is non-negotiable when using any cheesemaking equipment. Always sanitize your basket cheese mold before and after each use to prevent cross-contamination. This is especially important when making raw milk cheeses or aging cheeses for extended periods.
Inspect your molds regularly for any signs of damage, such as cracks or deep scratches, which can harbor bacteria. Never use a mold that cannot be properly cleaned. For cheeses requiring a rind treatment, always follow a reliable Cheese Wax Guide for safe application.
Serving and presentation ideas
A cheese made in a basket mold has a beautiful, patterned rind that deserves to be showcased. Present your finished cheese on a elegant slate or wooden board. Refer to a Cheese Board Oil Guide to learn how to treat your board to make the cheese pop.
For a stunning display, consider placing your basket cheese under a Glass Cheese Dome Guide to protect it while allowing guests to admire its form. This is perfect for a party or a cheese-centric gathering where presentation is key.
Buying guide and price ranges
Basic plastic basket cheese molds are very affordable, typically costing between $5 and $15 USD depending on the size. Stainless steel molds are a larger investment, usually ranging from $20 to $50 USD. Multi-size sets offer better value for cheesemakers who produce various cheese types.
Consider how often you will use the mold before making a purchase. A serious hobbyist will benefit from the durability of stainless steel. Beginners might prefer to start with a plastic set to experiment with different styles before committing to more expensive equipment.
Gift ideas and bundle options
A basket cheese mold makes a fantastic gift for any food-loving friend. Pair it with a beginner’s cheesemaking kit or a book on homemade cheese. This practical present encourages creativity in the kitchen and yields delicious results.
Look for bundles that include related items like a thermometer, butter muslin, and a recipe card. A Cheese Thermometer Guide is an invaluable resource often included in better kits. These curated sets provide everything needed to get started right away.
Alternatives and related accessories
If a basket mold is unavailable, you can use a colander lined with cheesecloth as a simple alternative. However, this will not produce the characteristic patterned rind. For long-term storage of your finished cheese, proper Cheese Paper Guide techniques or a Cheese Wrap Guide are essential to maintain humidity and prevent drying.
For aged cheeses, an Aging Shelf for Cheese Guide can help you create the perfect environment. To enjoy your hard cheeses, a reliable Box Cheese Grater Guide will help you select the best tool for shaving or grating. Each accessory plays a role in the complete cheesemaking and enjoying journey.