
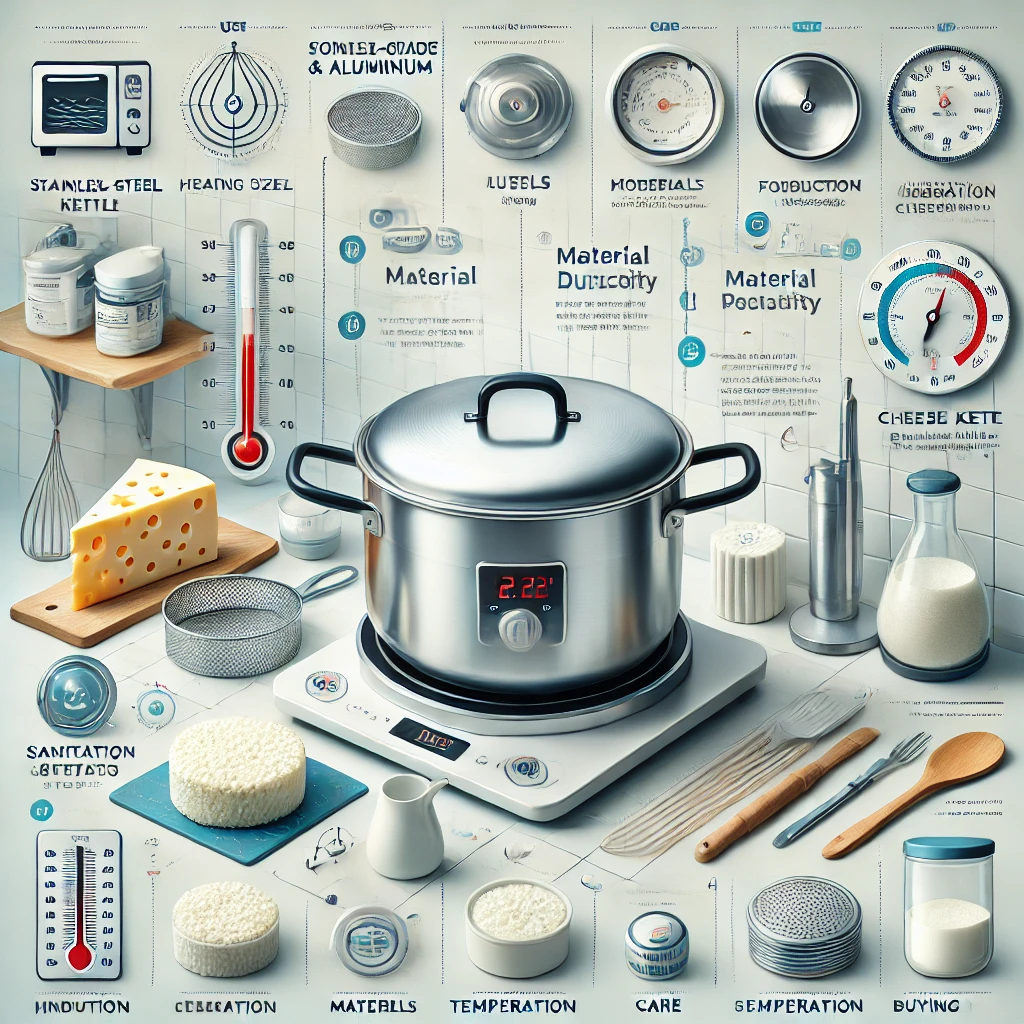
Cheese making is a timeless craft that blends science, tradition, and creativity. Whether performed in a farmhouse kitchen or a modern artisan creamery, one tool remains central to the process: the cheese kettle. This essential piece of equipment provides the controlled environment needed for heating, curdling, and processing milk—making it a cornerstone for both amateur and professional cheesemakers.
A high-quality cheese kettle ensures precise temperature control, preserves milk quality, and supports consistent cheese texture and flavor. For beginners, the variety of kettles available can seem overwhelming; for seasoned artisans, choosing the right material and capacity can significantly streamline production.
This comprehensive guide explores the uses, types, materials, maintenance, and buying considerations for cheese kettles, helping you select the perfect one for home or commercial cheesemaking.
🧀 What Is a Cheese Kettle?
A cheese kettle is a vessel designed specifically for heating and processing milk during cheese production. Compared to standard kitchen pots, cheese kettles feature:
-
uniform heating
-
higher capacity
-
durable, food-safe materials
-
optional built-in temperature controls
They are used in all stages of cheesemaking, from pasteurizing milk to cutting curds and stirring large batches.
Key Features
| Feature | Description |
|---|---|
| Capacity | From 5 liters (home use) to 500+ liters (commercial use) |
| Material | Stainless steel, copper, aluminum, or enamel |
| Heating Method | Direct-heat, steam-jacketed, induction-compatible |
| Purpose | Milk heating, curdling, acidification, stirring |
🥛 Primary Uses of a Cheese Kettle
A cheese kettle is more than just a pot. It is a multifunctional tool that supports precision and consistency.
⭐ 1. Milk Heating
Cheese production requires heating milk to specific temperatures:
-
warming to activate cultures
-
heating to encourage curd formation
-
pasteurization (if needed)
A kettle ensures even heat distribution, preventing scorching.
⭐ 2. Curds Formation
Once cultures and rennet are added, the milk forms curds. The kettle provides a stable environment that maintains:
-
correct acidity
-
controlled temperature
-
gentle movement
⭐ 3. Cutting & Stirring Curds
Many kettles are large enough to allow:
-
cheese knives to cut curds
-
long paddles to stir gently
-
draining or scooping without spills
⭐ 4. Cooking Curds
Some cheeses require cooking curds at precise temperatures (e.g., Parmesan, Gouda). A high-quality kettle holds temperature accurately over time.
⭐ 5. Whey Draining & Collection
Producers often use the kettle to:
-
drain whey through a valve
-
transfer curds efficiently
-
collect whey for ricotta or livestock feed
⭐ 6. Pasteurization
For commercial cheesemakers, kettles can pasteurize large batches safely.
⭐ 7. Aging Preparation & Cleaning
Kettles are also used for:
-
acidification checks
-
sanitation steps
-
preparing milk for specific cheese styles
The cheese kettle is the heart of the cheesemaking workflow.
🔧 Types of Cheese Kettles
Cheese kettles come in several designs, each suitable for different production scales and budgets.
🟡 1. Direct-Heat Cheese Kettles
These are heated directly by:
-
gas flames
-
induction stovetops
-
electric hot plates
Pros:
-
affordable
-
good for home use
Cons:
-
risk of milk scorching
-
requires constant attention
🟡 2. Steam-Jacketed Kettles
Commercial dairies often use these for large-scale production.
Benefits:
-
even heating
-
safer temperature control
-
no scorching
-
ideal for sensitive milk
Drawbacks:
-
expensive
-
requires steam supply
🟡 3. Double-Wall Water Bath Kettles
Perfect for artisan producers.
These kettles use water between two walls to create gentle, even heating (like a large bain-marie).
Pros:
-
excellent temperature accuracy
-
reduced scorching risk
-
ideal for delicate cheeses
Cons:
-
higher cost
-
slower heating
🟡 4. Electric Cheese Kettles
These include built-in thermostats and heating elements.
Features:
-
digital temperature control
-
stirring mechanisms
-
preset heating programs
Great for small dairies or advanced hobbyists.
🟡 5. Traditional Copper Kettles
Used in Alpine regions for cheeses like Gruyère and Raclette.
Advantages:
-
exceptional heat conduction
-
contributes to unique microbial and flavor development
Challenges:
-
requires careful maintenance
-
reacts with acidic solutions (must be lined or used cautiously)
🧱 Materials: Which Is Best?
Choosing the right material ensures safety, durability, and ideal cheese results.
🥇 1. Stainless Steel (Most Recommended)
Pros:
-
non-reactive
-
easy to clean
-
durable
-
ideal for all cheese types
Perfect for: Beginners, home cheese makers, and professional dairies.
🥈 2. Copper
Pros:
-
excellent heat distribution
-
enhances cultures in traditional cheeses
Cons:
-
expensive
-
must be maintained carefully
Perfect for: Traditional cheese artisans.
🥉 3. Aluminum
Pros:
-
budget-friendly
-
lightweight
Cons:
-
reacts with acid
-
needs coating
Best for: Low-acid, fresh cheeses.
🟦 4. Enamel-Coated Steel
Pros:
-
non-reactive
-
stylish and affordable
Cons:
-
can chip
-
less durable for large batches
Best for: Beginners making soft cheeses.
🧴 Cheese Kettle Care & Maintenance
Proper care extends the lifespan of your kettle and ensures safe cheesemaking.
⭐ Cleaning Tips
-
Use mild soap—avoid harsh chemicals
-
Rinse thoroughly to remove milk residue
-
Dry kettle completely to prevent corrosion
-
For copper kettles: polish regularly with natural acids
⭐ Avoid:
-
abrasive scrubbers
-
steel wool
-
chlorine-based cleaners
⭐ Sanitizing Before Cheesemaking
-
Rinse with boiling water
-
Use food-safe sanitizers
-
Wipe with clean cloths only
⭐ Storage Tips
-
keep dry and covered
-
avoid stacking heavy items on top
-
store indoors away from humidity
🛒 Buying Guide: How to Choose the Perfect Cheese Kettle
When selecting a cheese kettle, consider the following factors:
✔ 1. Capacity
| Scale | Ideal Size |
|---|---|
| Home Use | 5–15 liters |
| Artisan Production | 20–100 liters |
| Commercial Dairy | 100+ liters |
Choose based on how much cheese you plan to produce.
✔ 2. Material
-
Stainless steel = best overall
-
Copper = for traditional cheeses
-
Enamel = budget-friendly
-
Aluminum = small-scale fresh cheese
✔ 3. Heating Needs
Ask yourself:
-
Will I use a stovetop or induction?
-
Do I need built-in temperature control?
-
Will I require steam heating?
✔ 4. Budget
Price ranges:
-
$40–$150 for home kettles
-
$150–$500 for artisan kettles
-
$1,000+ for commercial steam-jacketed kettles
✔ 5. Additional Features
Look for:
-
spouts or valves for easy draining
-
reinforced handles for heavy lifting
-
double walls for safe heating
-
built-in temperature control
⭐ Conclusion
A cheese kettle is one of the most essential tools in cheesemaking, offering precision, safety, and efficiency. Whether you’re a home hobbyist or a professional dairy producer, choosing the right kettle can elevate the quality and consistency of your cheeses.
From stainless-steel kettles for beginners to copper kettles for traditional artisans, the market offers something for every level. With proper care, a good cheese kettle will last decades—becoming a trusted partner in your cheesemaking journey.
FAQs – Cheese Kettles
1. What is the best material for a cheese kettle?
Stainless steel is the most recommended due to durability, safety, and ease of cleaning.
2. Can I use a regular pot instead of a cheese kettle?
Yes, for small batches—but kettles provide better temperature control and consistency.
3. Do I need a steam-jacketed kettle?
Only if you’re producing cheese commercially or need advanced temperature stability.
4. How do I prevent milk from burning?
Use double-wall or steam-heated kettles, stir often, and avoid high heat.
5. How big should my cheese kettle be?
Choose based on batch size: 5–15 liters for home use, 20–100+ liters for professional levels.